For Administrators
-
Offboarding - all that needs to be done
The offboarding period is a unique phase—there are specific tasks that need to be completed within a defined timeframe. So how can you keep everything under control?
We’re happy to provide you with the tools that will help you manage this process efficiently and smoothly!Offboarding checklists
The most effective way to manage the entire process is by creating specific checklists that include all tasks that need to be completed. In Sloneek, you can easily create such checklists, assign tasks to the responsible person, and keep an eye on the progress of their completion.
Sounds familiar? Yes, this is exactly the functionality of the Onboarding module — which can also be used to create offboarding checklists. And that’s not all: you can save these checklists as templates, allowing you to reuse them while simply adjusting a few details specific to the offboarded person.
Directly in the Onboarding module you are able to create templates fitting the specific situations, including the offboarding process. Just click on Add a checklist template to create a new one.
In the next step, you’ll be able to define all the tasks that need to be completed during the process and assign them to the person responsible.
Not sure how to create these tasks? Try using our AI prompt and let artificial intelligence take care of it for you!Of course, all tasks can also be adjusted, added or removed manually. If needed, you can add a note or an attachment to each task using the Task Details option.
Once the template is ready, you can launch the checklist. During this step, you may change its name—for example, by adding the name of the employee going through the offboarding process. You’ll also have the option to set deadlines for when each specific task must be completed.
If everything is set up correctly, simply click the button in the upper right corner to launch the checklist. Everyone assigned to a task will receive a notification.
You can easily monitor the progress of each launched checklist in the Company > Onboarding > In Progress section, accessible from the menu on the left-hand side.
Updating the User Lifecycle Stage
Once an employee enters the offboarding process, you can update their lifecycle stage to Offboarding directly in their profile. During this step, you’ll also have the option to specify the reason for termination by selecting it from a dropdown menu.
Once the entire offboarding process is complete, there are just two final steps to take:
-
Change the lifecycle stage from Offboarding to Alumni
-
Deactivate the user
Both actions can be performed directly from the user’s profile.
After deactivation, the user will no longer have access to the application. However, their full profile and history will remain stored in the system.
And of course, once a user is deactivated, no charges will apply on their behalf. -
-
Running a checklist template
You can start the checklist either by running the selected template in Onboarding and tasks / Checklist templates:
- click on the checklist detail and click on
/run-checklist.png?width=164&name=run-checklist.png)
- in the list of templates, click on
/button_Akce.png?width=33&name=button_Akce.png)
or in Onboarding and tasks / Running checklists, click on
/run-new-checklist.png?width=169&name=run-new-checklist.png) when you have finished preparing the checklist (see above).
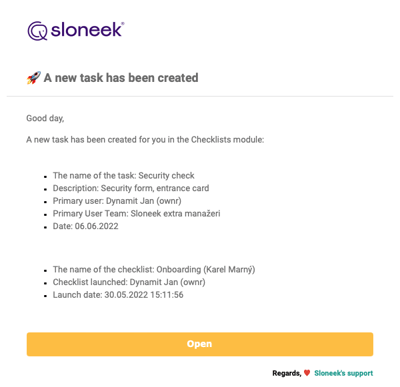
when you have finished preparing the checklist (see above).Everyone who has been assigned a task within the checklist receives an email notification at the moment of launch,
 tasks in the Checklists panel will be displayed on the Desktop,
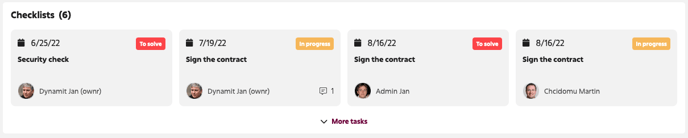
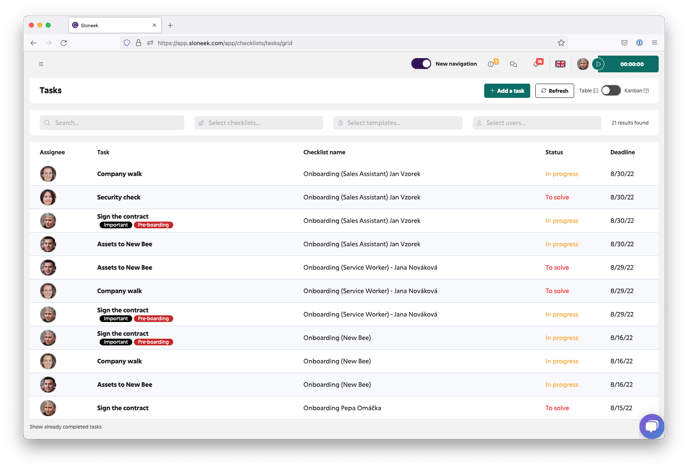
in the list of tasks in Company / Onboarding and tasks / List of all tasks,
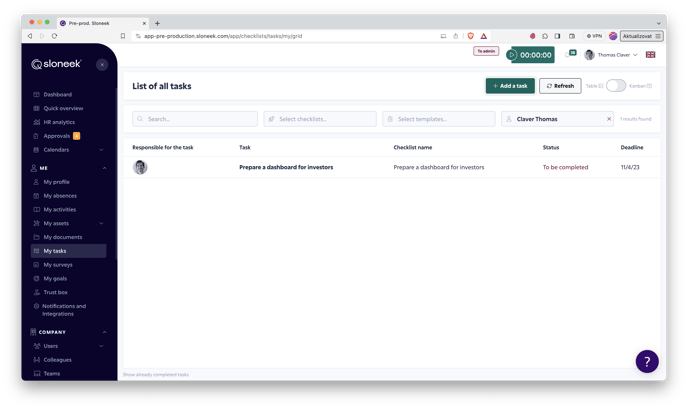
and for individual user in ME / My tasks.
- click on the checklist detail and click on
-
Checking the completion of tasks
Keep a perfect overview of the status of each task.
All users can see their tasks on the Desktop (Checklists box) or in Onboarding and tasks.
Administrators can see not only their tasks in the task list, but also the tasks of all other users.
Switching the
/radiobutton-checklisty.gif?width=100&name=radiobutton-checklisty.gif) takes you from the task table to the KANBAN view. Here you can move between the different task phases using drag & drop.
takes you from the task table to the KANBAN view. Here you can move between the different task phases using drag & drop.
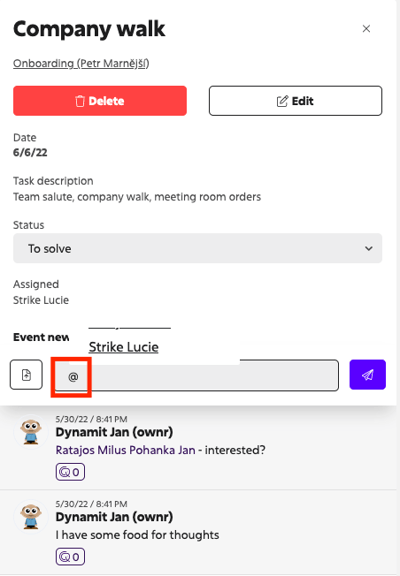
Click on the name of the task to get to its detail. In addition to the detailed description of the task, you can select the status of the task and write notes. As in the case of the details of Absence, Arrivals and departures or Activity (time tracking) events. When entering "@", it is possible to mention specific persons to whom such a message will also be delivered to the email. Of course, it is also possible to insert an attachment.
Checking tasks completion
Users with the Admin role can monitor the progress of tasks directly in a running checklist in Onboarding and tasks / In Progress. By clicking on a specific checklist, they can work with the information on the 3 tabs:
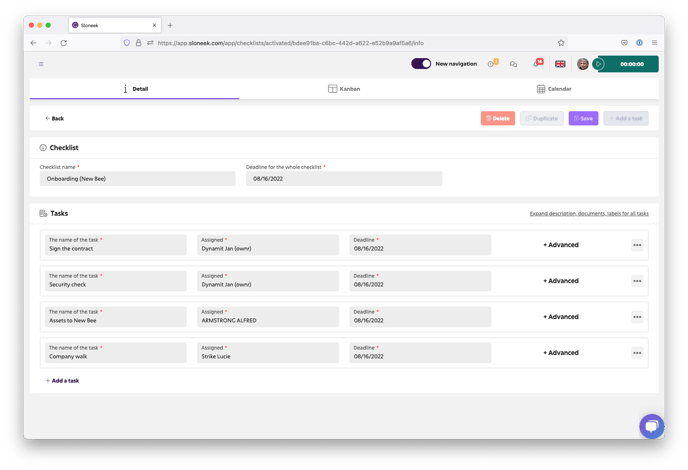
 Info
InfoOn this tab, they can edit, add to, or duplicate a specific running checklist for subsequent re-running.
 Kanban
Similarly to the task list in Onboarding and tasks / List of all tasks, here you have a view of the tasks in the KANBAN view. You can freely manipulate individual tasks between the different levels of performance, or communicate with other users of the application via the task details.
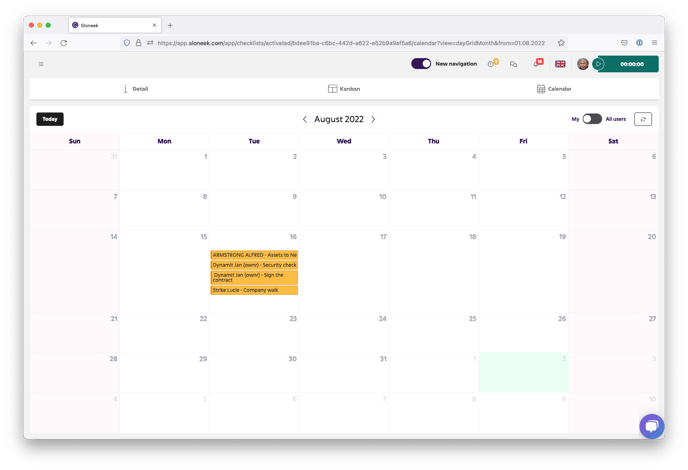
 Calendar
A calendar view of tasks allows for quicker orientation over longer periods of time.
-
Adding a checklist template
Templates and checklists can be inserted by all users with the ADMIN role.
All other users can only add individual new tasks for themselves.
For lists of tasks that you expect to repeat (onboarding / offboarding colleagues), we recommend starting with the templates in Onboarding and tasks / Templates.
If you do not want to use a template, you can create a new checklist in Onboarding and tasks / In Progress.
In both cases, you will add a deadline to the created checklist and a Responsible Person in charge of the checklist. Check or edit the task holder and the deadline for the individual task